bouquet background

Saturday, October 31, 2015

Halloween 2015: Clifford & Emily Elizabeth

Clifford has been Sarah's favorite since she was a baby, and I decided she would make an adorable Emily Elizabeth. I was so on top of things that I had her costume made over a month ahead of time. Sadly, Sarah got sick the week of Halloween and we couldn't go to the ward Halloween party. We still had plenty of Halloween fun.
 Sarah has been very interested in our pumpkins ever since we brought them home. We have counted them many, many times. Kelson did a cat with a moon and stars for our orange pumpkin.
 She wasn't so sure about the gooey guts.
 She did attempt to remove a few spoonfuls, but there was no chance she was reaching in there with her hand.
 I got the difficult job of hollowing out the white pumpkin. It smelled like a giant cucumber.
 Scary pumpkin!
They turned out awesome!
 Halloween morning, we ran in a 5K fun run that was part of an Eagle Scout project for a boy in our ward. Since Kelson was working evenings that week, it was our only chance to do Halloween as a family. I went as Kelson, decked out in his running garb, complete with a Ragnar medal. I was just proud of myself for finishing the whole race without walking - a first for me!
 Kelson went as Clifford and pushed Emily Elizabeth in the stroller. They were adorable.

 Isn't she the cutest little Emily Elizabeth. Ignore the huge fat lip from face planting on the kitchen floor the day before.

 Kelson and Sarah won the costume contest! The prize was a whole pumpkin of candy.
 Sarah was very pleased with this situation.
 We headed home for our traditional Halloween meal of mummy dogs. Sarah was really excited about it, but of course she only chewed the bread off. Sarah does not eat anything that contains protein.

 Daddy headed off to work, so it was just Sarah & I for trick or treating. My turn for the Clifford costume.
 It took her about 1 house to figure out that when you rang the doorbell people put candy in your pumpkin. Best holiday ever!
After about 10 houses, she plopped down in the middle of the street to count her loot.
 Checking on our pumpkins and pulling out the lights.
Happy Halloween!

Thursday, October 22, 2015

The Pumpkin Patch & A Visit From Grandma Judy

We were lucky enough to have Judy come visit us for a week in October. It took Sarah about 2 seconds to decide she was a grandma and therefore her best friend. Sarah loved having Judy here to play with her. One of the first things we did together was go to a pumpkin patch to pick out our Halloween pumpkins.

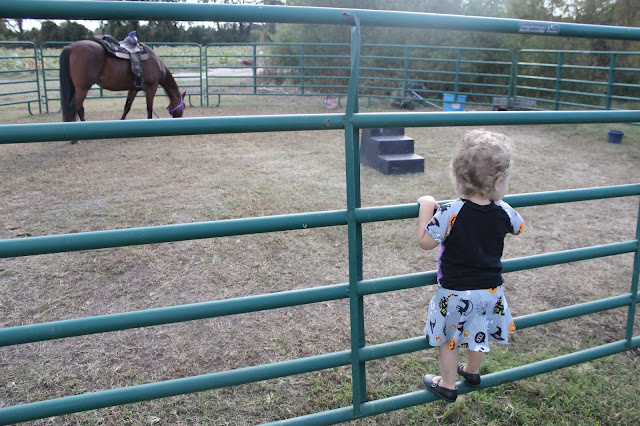
 They had goats & a horse, so it was obviously a good day.

 Headed into the field to find the perfect pumpkin

 Picking out a pumpkin is serious business.
 Yep, she is adorable. 
 A ghost! Sarah knows that ghosts say ooooooo!!
 We picked out a bumpy one and a flat, white one.

 Picking out pumpkins was so much fun!
 On Saturday, we went to a parade and festival in Driver, the tiny community just down the road from us. We love the small towns around here.
 After the parade, we rode the ferry across the James River from Isle of Wight to Jamestown and then drove down to Williamsburg. Sarah thought it was pretty exciting riding on a boat in the car.
We had fun exploring Colonial Williamsburg, starting with this awesome old church and graveyard.

 The inscriptions on these old headstones are so cool. 
This church was attended by almost all of the founding fathers, along with many other famous people from American history.

Before we left to take Judy to the airport, Sarah was kind enough to cover her whole arm in stickers. It was a sad moment when Sarah woke up from her car nap to discover that Grandma was gone. Thanks for coming to visit, Judy!

Wednesday, October 7, 2015

Daddy playing with Sarah's toys

The other night we came downstairs late at night only to find that Sarah's stuffed animals and dolls were having a secret meeting. It all looked really shady. I mean, have you read Animal Farm? Scary stuff, and the leader of this bunch was the stuffed rabbit Pillow Pet.


We should have seen this from the beginning. There were always suspicions. Well, something had to be done to prevent any uprisings, so we did the natural thing...


...Kill their leader and imprison the accomplices.

But the orange monkey got away. There's always one that gets away.

We taught them a lesson and re-integrated them into their inferior roles as stuffed creatures. But the very next day...


...Trouble again. Led by the other rabbit (go figure) and two pirates, a gang of 'em were trying to wrestle some flowers away from the valentine bear.

Re-designing our Dining Room


 Emily's family has always been very crafty and into woodworking and furniture decorating. Not too long after we were married, we decided to dabble in the arts ourselves. This was almost exclusively by necessity rather than for art's sake. We just needed furniture to furnish and decorate our home. Led by Emily, of course, we began acquiring a piece of furniture here, a piece of furniture there, some that were left on the curb for trash pick-up, others from Craigslist, from thrift shops, or from yard sales. For each one, we had a vision of what it could become and what place it would occupy in our home.

My mother-in-law acquired our first dining set from a yard sale several years before we were married, and we inherited it. It served us well for the first few years, but then Emily discovered Pinterest.

 
While in Hawaii, we turned our garage into a furniture re-design studio. The chairs were wearing out, so we sold them. The table was sanded and stripped of the old finish, then stained, painted, and sealed in a different style. Stay tuned for that.

Here's the before picture.


 We acquired six chairs off Craigslist, since we had sold the old, worn-out ones. We bought them just before we moved to Virginia, so we didn't begin working on them until a couple of months ago. What a process!

First, the issue of re-upholstering the cushions. Not our first re-upholstering attempt, but definitely much more technical than the first.


Step 1. Remove old cushions and disassemble them.


 Lots of staples! (This is not the last time you will hear about staples. We thought removing them was bad enough. Ugh! The smile deceiveth.)


Step 2. Set aside chair frames for sanding, stripping, and painting.


Step 3. Measure and cut batting, fabric, and vinyl to fit the old shape.


Step 4.  Re-upholster.


Step 5. Get a new staple gun.

Our original staple gun, which is a bit more powerful and thus works more effectively on the pressboard seat, refused to work properly after a while and really bogged down on efforts. It was taking so long that we were struggling to do one cushion per week. Finally, we bought a new staple gun and dramatically sped up the re-upholstering process.

Step 6. Cover with vinyl for durability and people-proofing.


We put at least 50 staples into each seat cushion, and it took an extraordinarily long time to do so - adjusting, re-adjusting, removing, and re-adding staples to get the right fit. And the pressboard did not help make this a simple process. Much of the time, it simply did not want to accept staples. Real wood is much more forgiving. That whole part of the experience can be over forever.


Step 7. Paint the chairs.

The chairs with the new-and-improved cushions looked pretty good before being
 re-designed, but they weren't Pinterest'd enough yet. So, we primed them, painted them white, distressed them with some dark stain to give them "the look," and sealed them with Polycrylic for durability.


Final product!